Do you need to add an A Record and CNAME on Bluehost? Here are the instructions on how you can add those details to your account. This is a really simple process and should only take you about 5-10 minutes of your time.
The first thing that you need to do is to check which of the two possible account management interfaces. The two are BlueRock and Legacy Control Panels. Depending on the plan and interface, you will want to add your subdomain and CNAME by following the directions below.
Add a CNAME Record to your BlueHost Rock Account
These are the instructions for you to add the CNAME Record to your BlueHost Rock Account.
Step 1 – Log In
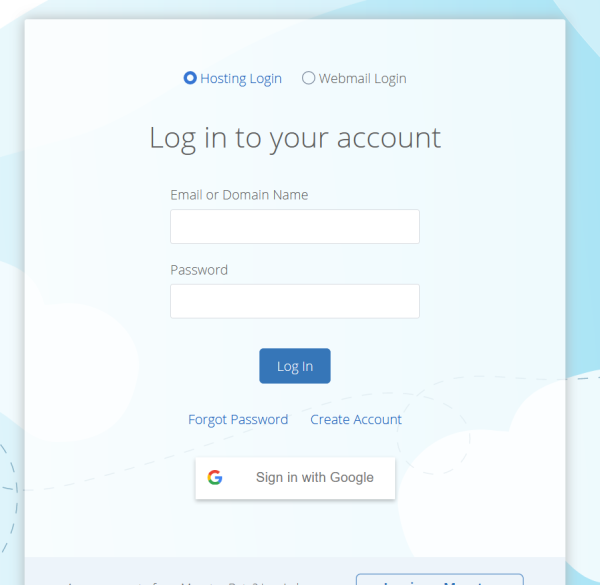
The first stage is to log into your BlueHost account and access the control panel.
Step 2 – Domains
On the left-hand menu, find and click on the Domains tab. This will provide you with the list of the domains you have registered on BlueHost.
Step 3 – Manage
Now click on the ‘Manage’ button that is on the right of the domain. From the dropdown menu you want to click on the DNS.
Step 4 – DNS Manager
Now you need to scroll down the page and find the DNS Manager section. In this area, locate the CNAME (Alias) records. Then you should click on the button that reads ‘Add Record’. You should fill in the form fields with the following values.
Host Record – This will be the subdomain that you want to use for the domain.
Points to Value - The unique CNAME string that has been provided to you.
TIL – Can be left as it is.
When you’ve entered in the information, you can then click on ‘Save’ to add the record.
Using the BlueHost Legacy Account
If you’re using the legacy account, follow these instructions.
Step 1 – Log In
Log into your BlueHost account.

Step 2 – Domains
From the dashboard, click on the ‘Domains’ link within the navigation menu. Then you can click on the ‘Zone Editor’. This will bring up a new page for you.
Step 3 – Root Domain
Now you need to select the root domain from the dropdown menu.
Step 4 – Add DNS Record
Now you need to add the following fields as follows.
Host Record – Enter the subdomain the address you would like to use for the domain.
TIL – Leave be.
Type – Select CNAME from the dropdown options.
Points To Value – Enter in the unique ID CNAME value that you’ve got.
When you’ve entered everything in, you can click on the ‘Add Record’ button.
Final Word: How to Add an A Record and CNAME on Bluehost
Above are the instructions that allow you to add records to your Bluehost account. If you have any problems, Bluehost has a support team that can help you out. However, the process is really simple and you shouldn’t have any problems adding these details to your account. The process should only take you about 5-10 minutes in total.

