There are times when there are errors with your file and folder permissions. These can be very inconvenient and can affect how your website performs and whether you can make changes. To resolve this issue you will need to change the permissions to the default options.
Why Would I Need to Change File/Folder Permissions
There are many reasons why you might need to change the File/Folder permissions on your Cloudways website. For one, a theme/plugin might have had incorrect settings that have caused your website’s file/folder permissions to become corrupt. Another problem is that your website developer has locked them for some reason, if you’ve recently taken over the website from a developer, you might need to change this.
Another problem might be that your website has been hacked and the file/folder permissions have the changed.
There are numerous errors that can appear as a result of a bad file/folder permission error. This can include ‘Permission denied’, ‘403 Forbidden Error’ and more.
There are numerous ways in which this error can be fixed. On other hosting platforms, it can be a hard, long task. But with Cloudways, it is a simple matter that takes just a few clicks.
How to Reset File/Folder Permissions
If you’re the account owner or have full access to the application, then Cloudways allows you to reset the file and folder permissions within the dashboard. When the permissions have been reset it is important to note that it will only happen within webroot folder which is within your public_html directory. All the directories permissions will reset to the default permission of 774 and file permissions will be reset to 664. All the files and folders will have their ownership changed to application user or master user (depending on your preference).
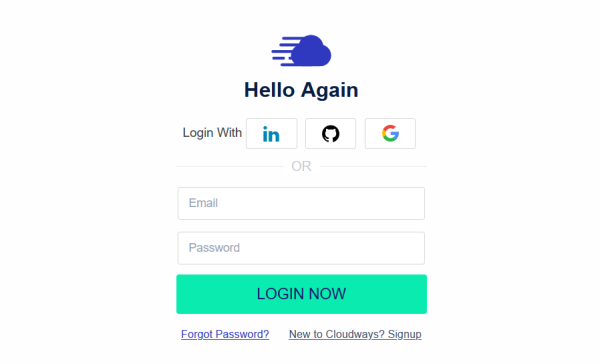
Step 1 – Log In
The first step is to log into your Cloudways platform using the log in credentials you have.

Step 2 – Application Selection
Then within the top menu bar, you want to open ‘Servers’ and then choose the server where the application/website is deployed and click on the ‘www’ and then choose the application’s name.

Step 3 – Application Settings
From the navigation bar you want to select the option that reads ‘Application Settings’ and then you should land on the ‘General’ tab.
Step 4 - Reset
Scroll down the page and you will see the option to ‘Reset File/Folders Permissions’. On this, there is a dropdown that will allow you to choose the desired use (master or application user). This is the person who should have the permissions. Click the one that you would like to have.
Step 5 – Verify Permissions
Now you can verify if the permissions have been reset. This has to be done within your SSH/SFTP.
Final Word: How to Reset File and Folder Permissions on Cloudways
It is as simple as that to reset the file and folder permissions on your Cloudways website. It doesn’t take much and you don’t need to have developer skills to complete it. And step five is optional but it is good practice to ensure that your work has done the job that you wanted it to.

