
Installing WordPress on Hostinger takes about five minutes once you know which of the built-in tools to use, but picking the wrong one is how people end up with a bloated demo site, a WordPress install sitting in the wrong folder, or a second attempt layered on top of the first. This guide covers every install path Hostinger offers, from the one-click Auto Installer to a manual upload, and the cases the quick tutorials skip: putting WordPress on a subdomain, running more than one site on a single plan, and installing on a VPS. Each method is written out in full so you can match the tool to the kind of site you are building.
Before You Install
Three things need to be in place first. You need an active Hostinger plan: the Single and Premium shared plans both run WordPress well for a small site, while Business and Cloud add daily backups, staging, and more resources for sites that handle real traffic. You need your domain added in hPanel, Hostinger's control panel, even if the nameservers are not pointed at Hostinger yet. And you need to decide where WordPress will live, because the install form asks for that up front: the root of your domain, a subdirectory such as /blog, or a subdomain. If you are setting up the account from scratch, the how to set up Hostinger walkthrough covers account creation, SSL, and the hPanel basics, and this guide picks up at the install itself. If you are moving an existing site rather than starting fresh, follow the how to migrate WordPress to Hostinger guide instead, or the broader Hostinger setup and migration guide for the full range of options.
Method 1: Install WordPress with the Auto Installer
The Auto Installer is the cleanest option for most sites. It gives you an empty WordPress install with no preloaded themes or marketing plugins, which is what you want if you plan to build the site yourself.
- In hPanel, open the dashboard for the website you want to use, then go to WordPress or Auto Installer in the sidebar and choose WordPress.
- Fill in the install form: the domain, the install directory (leave it blank for a main site at the root, or type a folder name like blog for a subdirectory install), an admin username, a strong admin password, and the admin email used for password resets and notifications.
- Set the site title and the site language, then click Install.
- Wait for the progress bar to finish. The new install appears under Installed Applications, usually within a minute.
Pick an admin username other than "admin" and a password of at least sixteen characters. Those two choices block the most common brute force attempts before the site is even public.
Method 2: Install Through the Website Wizard
Hostinger's website creation flow is the beginner-friendly path. From the main hPanel screen, go to Websites, click Add Website, and choose the option to create a new WordPress site. On Business and Cloud plans this flow can also generate a starter site with a theme and sample content using Hostinger's AI builder.
The trade-off is that the wizard installs extra plugins and a starter theme, so you spend a few minutes removing things you did not ask for. If you want a blank canvas, the Auto Installer in Method 1 is faster to clean up. If you are new to WordPress and want a visual starting point, the wizard earns its place.
Method 3: Install WordPress Manually with SFTP
A manual install is only necessary for non-standard setups: a custom database prefix, a multisite network, or a specific WordPress version. Everyone else should use Method 1. If you do need it, the steps are straightforward.
- Download the latest WordPress package from the official wordpress.org site to your computer and unzip it.
- In hPanel, open File Manager (or connect over SFTP with the credentials under Files, then FTP Accounts) and upload the WordPress files into public_html, or into public_html/yourfolder for a subdirectory.
- Go to Databases, then MySQL Databases, and create a new database and database user. Note the database name, username, and password.
- Visit your domain in a browser and run the WordPress setup, entering the database details you just created when prompted.
Manual installs are where "Error establishing a database connection" shows up most often, almost always because the database details entered during setup do not match the ones created in hPanel.
Installing WordPress on a Subdomain
A subdomain such as shop.yourdomain.com or staging.yourdomain.com is a common place to run a store, a test copy, or a microsite kept separate from the main install. Hostinger treats a subdomain as its own site.
- In hPanel, open Domains, then Subdomains, and create the subdomain. Hostinger adds the DNS record for you when the domain is hosted there.
- Confirm the domain's DNS points to Hostinger. A freshly created subdomain can take up to 24 hours to resolve before the install will complete.
- Open the WordPress section, go to the Overview tab, and click Install. In the install form, set the domain drop-down to your new subdomain, then click Create.
For a manual subdomain install, upload the WordPress files to the public_html/subdomain folder in File Manager instead, then run the browser setup as in Method 3.
Running More Than One WordPress Site
Premium, Business, and Cloud plans let you host multiple websites on a single plan, so you do not need a second subscription to add another WordPress install. Each site is its own entry: add the domain or subdomain in hPanel, then run the Auto Installer again and point it at that domain. The Single plan is capped at one website, which is the limit to watch if you expect to grow into a second project.
Installing into a subdirectory works the same way. Set the install directory to a folder name like blog and WordPress loads at yourdomain.com/blog, which is useful when you want a blog attached to a site built on another platform.
Installing WordPress on a Hostinger VPS
A VPS is a different product from shared and WordPress hosting, and the install works differently. In the VPS dashboard, Hostinger offers a one-click WordPress template, built on OpenLiteSpeed, that provisions the server with WordPress already running and a free Let's Encrypt certificate enabled.
The one catch is that applying an operating-system template rebuilds the server, so use it only on a fresh VPS or one whose contents you are willing to erase. To add a second WordPress site to a VPS that is already in use, create a new virtual host in your web server with its own folder and database, then install WordPress into it manually as in Method 3. A VPS gives you full control, which also means the automatic hPanel helpers do less of the work for you.
The First Five Minutes After Installing
Once the install finishes, a few settings are worth changing straight away.
- Log in. Open Admin Panel from the three-dot menu next to the install under Installed Applications, or go to yourdomain.com/wp-admin directly. Forgot the password already? Use the "Lost your password?" link, or reset it from the WordPress section of the website dashboard in hPanel.
- Fix the permalinks. Under Settings, then Permalinks, choose Post name. The default setting produces unfriendly URLs, and changing it later breaks existing links.
- Turn on HTTPS. Open the SSL area for the site, install the free certificate, then switch on Force HTTPS so visitors never land on the insecure version.
- Clear out the demo content. Delete the "Hello world!" post, the Sample Page, and the Hostinger AI Assistant plugin if you are not using it.
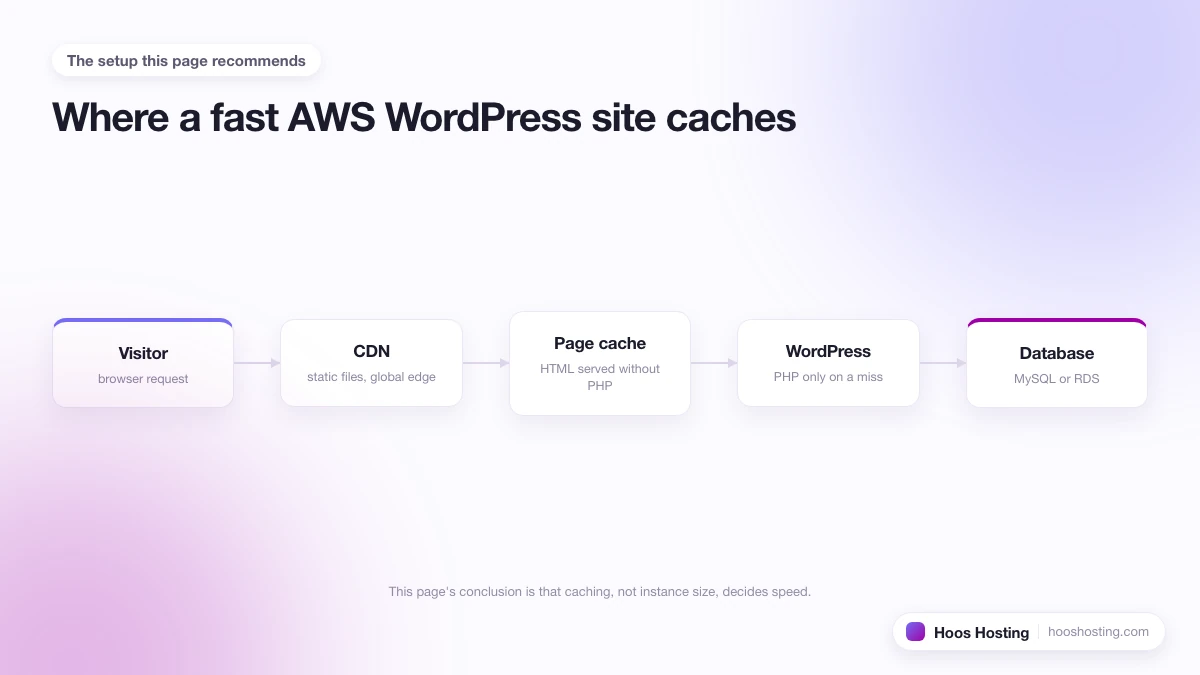
With the basics in place, the how to enable LiteSpeed Cache on Hostinger guide is the next stop, since caching is the single biggest speed gain on Hostinger's LiteSpeed servers. If you are pointing a registered domain at the new site, the how to point a domain to Hostinger guide covers the DNS cut-over without breaking email.
Install Errors and How to Fix Them
Most installs finish without trouble. When one stalls, it is usually one of these.
- The installer's system check fails on a PHP extension. Open PHP Configuration under the Advanced section, enable the extension it names, and refresh the installer so the check runs again.
- A "coming soon" holding page or a site that will not load. The install is fine; the domain's DNS is not pointing at Hostinger yet. Preview the site on the temporary hostingersite.com address while DNS propagates.
- "Error establishing a database connection" on a manual install. The database name, user, or password in the setup does not match what you created in hPanel. Recheck them under MySQL Databases and reset the user password if needed.
- The install directory is not empty. Hostinger will not install over existing files. Either empty the folder in File Manager or choose a different directory in the install form.
- The subdomain install will not complete. The subdomain has not finished resolving. Wait for DNS, up to 24 hours on a new subdomain, and try again.
Which Method Should You Use?
For a standard site on shared or WordPress hosting, the Auto Installer is the right default: it is quick and leaves you a clean install. Choose the website wizard if you are new to WordPress and want Hostinger's AI builder to hand you a starting design on a Business or Cloud plan. Keep the manual route for the rare setup that needs a custom configuration, and use the subdomain and VPS paths for the specific cases above. Whichever you pick, you can start on the Hostinger plans page, and the Hostinger review and the full Hostinger hosting guide lay out where the host is strong and where it is not before you commit.