Cloudways does not include its own DNS management service. For most sites, DNS is handled by the domain registrar or a third-party provider like Cloudflare. For those who want DNS management within the Cloudways dashboard, there is the DNS Made Easy add-on, a paid subscription that connects your domains to the DNS Made Easy platform directly from your account.
What Is DNS Made Easy?
DNS Made Easy is a managed DNS provider that focuses on speed, redundancy, and uptime. It runs its own Anycast network, meaning DNS queries are answered from whichever of its globally distributed servers is closest to the requester. The Cloudways add-on gives you a DNS Made Easy subscription billed through Cloudways, with DNS record management accessible from within the Cloudways interface.
When to Use DNS Made Easy vs. Your Registrar’s DNS
For most Cloudways users, free DNS from a registrar or Cloudflare is sufficient. DNS Made Easy is worth considering when:
- You manage a large number of domains and want all DNS in one place within Cloudways
- You need advanced DNS features like failover, traffic routing, or low TTL records for fast propagation during migrations
- You prefer a managed DNS SLA over a free registrar service
If you only have one or two sites, your registrar’s DNS or Cloudflare’s free tier is likely all you need.
Step 1 – Log In
Log into your Cloudways account at platform.cloudways.com.
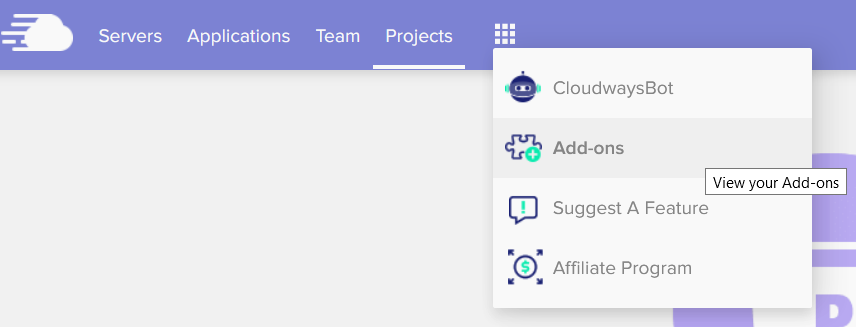
Step 2 – Add-Ons
In the top navigation bar, click Add-Ons.
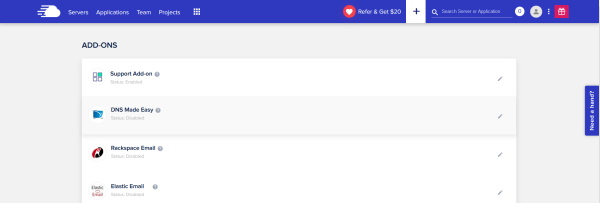
Step 3 – DNS Made Easy
Find DNS Made Easy in the list of available add-ons and click the pencil (edit) icon to open the subscription options.
You will be asked how many domains you need DNS management for. Select the appropriate tier. If you need more than the standard options, add the number in the Notes field. Click Subscribe to submit the request.
Step 4 – Activation
The DNS Made Easy add-on is activated manually by the Cloudways team, not instantly. After you subscribe, the status changes to Pending. If Cloudways need any additional information, they will contact you through a support ticket that is created automatically on your behalf.
Activation typically takes a few hours during business hours. Plan accordingly if you are time-sensitive, submit the request before you need the DNS changes live.
Advantages of the DNS Made Easy Add-on on Cloudways
- Anycast DNS network: Queries are answered from the nearest server in DNS Made Easy’s global network, reducing lookup times for visitors worldwide.
- Four-layer redundancy: If there is a problem with the primary DNS, traffic can be redirected to a preconfigured secondary IP address automatically.
- Low TTL support: Useful during site migrations where you want DNS changes to propagate quickly and minimise downtime.
- Centralised management: Manage DNS records for multiple domains from within the Cloudways dashboard rather than switching between registrar control panels.
How to Add DNS Records After Activation
Once DNS Made Easy is activated on your Cloudways account, you manage records through the DNS Made Easy dashboard. Here is how to add the most common record types:
A Record (Point Domain to Server IP)
- Log into DNS Made Easy and find your domain in the Domains list.
- Click the domain name, then click Add Record.
- Set Type to A, Name to
@(for the root domain) or a subdomain name, and Value to your Cloudways server IP address (found under Server Management > Master Credentials in Cloudways). - Set the TTL. During a migration, use 300 seconds (5 minutes) for fast propagation. For stable production use, 3600 or higher is fine.
- Click Submit.
CNAME Record (Subdomain Alias)
- Click Add Record and set Type to CNAME.
- Enter the subdomain in the Name field (for example,
www) and the target domain in the Value field (for example,yourdomain.com). - CNAME records cannot be used for the root domain (
@). Use an A record for the root.
MX Record (Email Routing)
- Click Add Record and set Type to MX.
- Enter
@in the Name field and the mail server hostname in the Value field (for example,mail.yourdomain.comor a Google Workspace mail server). - Set the Priority (lower number = higher priority). If you have multiple MX records, set priorities accordingly.
TXT Record (Domain Verification and SPF)
- Click Add Record and set Type to TXT.
- Enter
@for root-level records (SPF, DKIM, site verification) or a specific subdomain for others. - Paste the TXT string into the Value field. For SPF, a typical value looks like:
v=spf1 include:_spf.google.com ~all.
Switching Nameservers to DNS Made Easy
If you want DNS Made Easy to handle all DNS for a domain (not just specific records), you point the domain’s nameservers to DNS Made Easy at your registrar. DNS Made Easy assigns two or four nameservers when you add your domain to their platform. These look like ns0.dnsmadeeasy.com, ns1.dnsmadeeasy.com, and so on.
To update nameservers:
- Add all your DNS records to DNS Made Easy first, before changing nameservers at the registrar. This ensures there is no gap in DNS resolution during the cutover.
- Log into your domain registrar and find the nameserver settings for your domain.
- Replace the existing nameservers with the DNS Made Easy nameservers shown in your DNS Made Easy account for that domain.
- Allow up to 48 hours for full propagation, though most resolvers pick up the change within a few hours.
Note: if you are using Cloudflare for DNS, you do not need to switch to DNS Made Easy. The two serve the same function, and running both would duplicate your DNS management without adding value. See our guide on how to use Cloudflare with Cloudways for the Cloudflare setup process.
DNS Made Easy Pricing on Cloudways
The DNS Made Easy add-on on Cloudways is priced based on the number of domains you want to manage. The subscription is billed through your Cloudways account, so it appears as a line item on your existing Cloudways invoice. The cost is variable and depends on which tier you select when subscribing through the Add-Ons panel. Because pricing tiers can change, confirm the current rate in the Cloudways Add-Ons section before subscribing.
For comparison: Cloudflare’s free plan includes full DNS management with no domain limit and adds DDoS protection and a global CDN. For most Cloudways users who only need basic DNS record management, Cloudflare Free is sufficient. DNS Made Easy is the better choice when you specifically need its enterprise SLA, Anycast redundancy, or failover features.
Final Word: How to Use the DNS Made Easy Add-on on Cloudways
The DNS Made Easy add-on on Cloudways is a good fit for agencies or developers managing multiple domains who want enterprise-grade DNS redundancy billed through their existing hosting account. For single-site owners, a free DNS provider will usually meet your needs. Once your DNS is configured, see our guide on how to install SSL on Cloudways to secure your domain.