If you’ve registered a domain on Bluehost and would like to change the Nameservers on Bluehost, you can do this. This can be done so that you can use another company to host your website. Or you could be wanting to bring your website back to Bluehost and need to reset the Nameservers back to the default settings.
Changing the Nameservers on Bluehost is really simple. It is one of the advantages of having a Bluehost account, even if it is for managing your domains. However, before you make the change of the nameserver, be sure that you really don’t want to use Bluehost for hosting. And you should also be sure that changing the A Records and/or Cnames would be a better.
When you’re changing the Nameservers, you’re determining who has control of the domain’s DNS management. Here are the instructions to make those changes on your platform for Bluerock
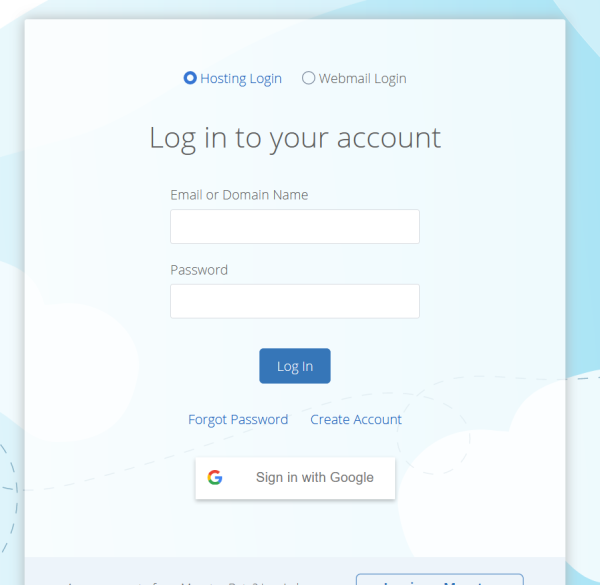
Step 1 – Log in
The first step is to log into your Bluehost account using your credentials.
Step 2 – Domains
Now click on the ‘Domains’ tab that is on the side navigation menu on the left.
Step 3 – Domain Name
Now find the domain that you would like to update and click on the down arrow icon next to the ‘Manage’ option. You should then choose DNS from the menu that appears.
Step 4 – Edit
Within the Name Servers section on the page, you can click on the ‘Edit’ button. Within the ‘Setup Type’ you should select the Custom Naveservers toggle. Then you need to enter the nameservers for the account.
When you’re finished, you can click on the ‘Save’ button. You can see that the changes have been made afterwards.
Legacy Account
If you have a legacy account, then you should use these instructions.
Step 1 – Log in
The first step is to log into your Bluehost account using your credentials.

Step 2 – Domains
Now you need to click on the ‘Domains’ tab. This can be found at the top of your screen with ease.
Step 3 – Domain Management
Scroll down the page for you to find the ‘Domain Management’ boxes. This is towards the bottom right-hand corner of the page. You need to ensure that the correct domain has the checkmark next to it within the ‘Please select a domain’ box. This can be found in the bottom left.
Step 4 – Domain Summary
Now click on the ‘Name Servers’ tab in the ‘Domain Summary’ that can be found in the bottom right box. You can then select the ‘Use Custom Nameservers’ toggle and then enter the settings that you need for your domain. You need to click on the ‘Save Nameserver Settings’ button to ensure that you save the changes on your account.
Final Word: How to Change Nameservers on Bluehost?
Above are the instructions to change the Nameservers on Bluehost. If you ever wish to change the Nameservers back to Bluehost, you can go back into the settings and then choose the Bluehost settings or use Default Nameservers toggle instead.

