Are you looking to install WordPress on Bluehost? Here are the instructions on how you can install WordPress on your server on Bluehost.
Bluerock
These are the installation instructions for those who are on the Bluerock system. This is the new Bluehost option.
Step 1 – Log in
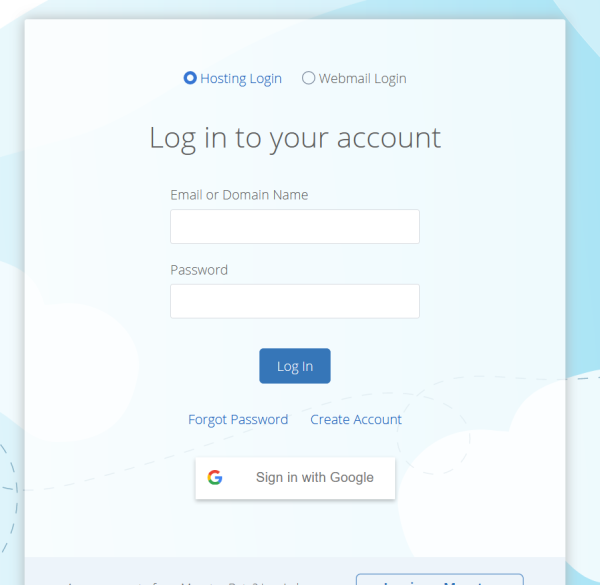
Ensure you’re logged into your Bluehost account and on the Bluehost control panel.
Step 2 – My Sites
Now click on the ‘My Sites’ tab that is on the side navigation menu on the left.
Step 3 – Create
Now click on the button that states, ‘Create Site’. This will showcase a new window that will have two highly sought-after website builders. To start with WordPress click on the ‘Start Building’ under the WordPress option.
Step 4 – Information
Now you need to enter the Admin Information. This can include the Site Name, Site Tagline, Email address, WordPress admin Username, WordPress admin password. This can take a few minutes to complete.
Step 5 – My Site
When this process has been completed, you can click on the ‘My Sites’ tab from the Bluehost side navigation tab. Then you can click on the website that you would like to manage and then start to design your WordPress website.
Legacy Options
If you’re using the Legacy option for managing your Bluehost server, then you will need to follow these instructions.
Step 1 - Log in

Log into your Bluehost account using your credentials and ensure that you’re on the main menu for the hosting platform.
Step 2 – Website Option
Click on the ‘Website’ option that is on the sub-menu.
Step 3 – WordPress
On the next screen, you will see lots of different sections. You will want to find the ‘WordPress’ section and then click on the ‘Install Now’ button. You will be given a popup and there is an ‘Install’ button that you need to click.
Step 4 – Admin Information
Now you can enter in some of the admin information into your website. This will include what version of WordPress you would to install, the installation URL, site name, site description and you can enable multisite on your website.
You will need to add the Admin Username, Password and the email address for the admin. You’re also able to choose the language you prefer.
Step 5 – Additions
You’re also able to choose preferred plugins. This can include Limit Login Attempts to protect your website from unauthorized brute force entries, Classic editor, wpCentral (for managing multiple WordPress websites). You’re also able to set the database name, disable notification update emails, auto-upgrade settings, and more.
Step 6 – Finish
Once you’ve finished, you can click on the ‘Install’ button and WordPress will be installed for you. You can then start building your website.
Final Word: How to Install WordPress on Bluehost?
When it comes to installing WordPress on Bluehost you have an easy process whether you’re using the new system or legacy option. Follow the instructions above for your WordPress installation.

