There are two ways to migrate a WordPress site to Cloudways: using the free Cloudways WordPress Migrator plugin, or manually via SFTP and database export. The plugin handles most sites in under 30 minutes with no SSH knowledge required. The manual method is for large sites, sites on hosts that block outbound connections, or cases where the plugin encounters an error.
Before You Migrate: Pre-Migration Checklist
Running through this list on the source site before starting the migration saves troubleshooting time later:
- Back up the source site: take a full backup of files and database from your current host before doing anything. If the migration fails partway through, you need a clean restore point. Once the site is live on Cloudways, set up application backups on Cloudways to protect the destination site.
- Check PHP version: note which PHP version the source site runs. Cloudways lets you set the PHP version per application; set it to match the source before migrating to avoid plugin or theme compatibility issues.
- Note active plugin licence keys: premium plugins (e.g. Yoast SEO, WooCommerce extensions, page builders) are often tied to a domain. You may need to deactivate the licence on the old domain and reactivate it on the new server after migration.
- Estimate database size: the Cloudways Migrator plugin handles most sites well, but very large databases (over 1 GB) can time out during upload. If your database export is over 1 GB, use the manual SFTP method instead.
- Check for incompatible hosts: some managed hosts (WP Engine, Kinsta, Flywheel) use custom file structures or block SFTP access in a way that affects the plugin. Check your current host’s documentation before starting.
Method 1: Migrate Using the Cloudways WordPress Migrator Plugin
This is the recommended method for most migrations. It requires no SSH access and typically completes in 10-30 minutes for small to medium sites. If you are coming from SiteGround specifically, see our SiteGround to Cloudways migration guide for the SG Optimizer, bundled email, and backup-retention caveats that need extra steps.
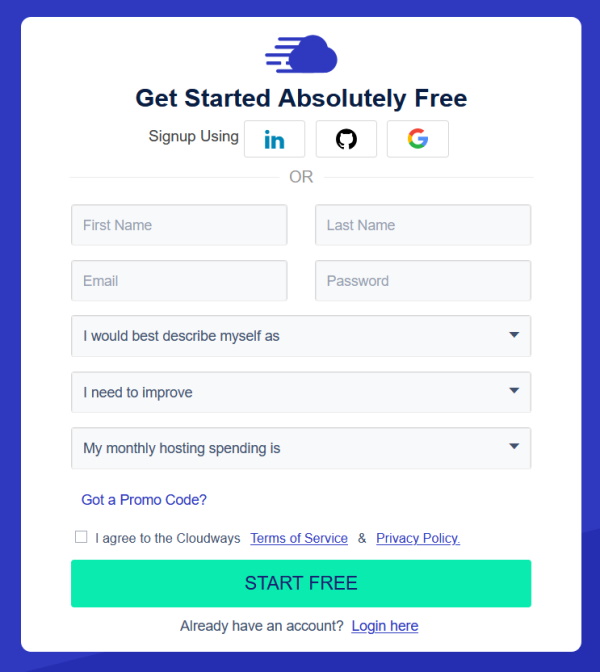
Step 1 - Sign Up for Cloudways
The first thing that you will need to do is to sign up for a Cloudways account. If you’ve not already got an account with them, then you can get your trial period which is free. This is easily done and you can use your Github, LinkedIn or Google account. Or you can manually sign up to Cloudways.
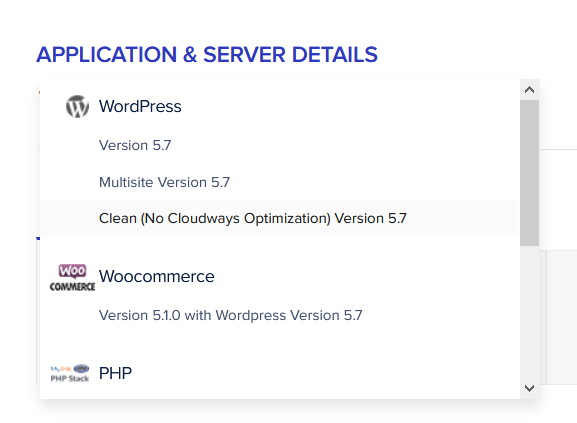
Step 2 - Launch a New Server and Application
Create a new server and add a blank WordPress application to receive the migration. DigitalOcean is a good starting point for small to medium sites. When selecting the WordPress install type, choose Clean (No Cloudways Optimization): this option installs a bare WordPress without the Breeze caching plugin or other pre-configuration. If you choose a pre-optimised install, those settings will be overwritten by the migration anyway, so the clean install saves a step.

Step 3 - Install the Cloudways Migrator Plugin on the Source Site
Log in to the WordPress dashboard of the site you are migrating (the old host). Go to Plugins > Add New and search for Cloudways WordPress Migrator. Install and activate it.
Step 4 - Enter Your Cloudways Application Credentials
In the plugin settings, you will see six fields to fill in. Start with the notification email address, this does not need to match your Cloudways account email, just an address you can check for the completion notification.
The remaining fields (server IP, application path, SFTP username, SFTP password, and database name) come from your Cloudways dashboard. Go to Applications, select the blank WordPress application you just created, and open the Access Details tab. Copy each value from there into the plugin fields.
Step 5 - Run the Migration
Accept the terms and click Migrate. The plugin copies all files and the database to your Cloudways application. Your source site continues to run normally during the migration, nothing is deleted or changed on the original host.
Step 6 - Test on the Cloudways Staging URL
Once the migration completes, visit the temporary Cloudways URL for your application (found in Application Settings) to verify the site looks correct. Check the homepage, a few posts, any WooCommerce pages, and the WordPress admin. Fix anything that looks wrong at this stage before pointing live DNS to the new server.
Method 2: Manual WordPress Migration to Cloudways (SFTP + Database)
Use this method when the plugin is not an option: large database (over 1 GB), source host blocking outbound connections, or when you need to control exactly what moves across.
Step 1 - Export the Database from the Source Host
Log in to your current host’s phpMyAdmin (usually found in cPanel under Databases). Select your WordPress database, click the Export tab, choose Quick export format, and download the .sql file to your local machine.
Step 2 - Download All WordPress Files via SFTP
Connect to your source server using an SFTP client (FileZilla is free and widely used). Download the entire WordPress root directory, including wp-content, wp-admin, wp-includes, and all files in the root. This may take several minutes for large sites with many media uploads.
Step 3 - Create a New WordPress Application on Cloudways
In Cloudways, create a new server (or add an application to an existing server) using a Clean WordPress install. Note the SFTP credentials and database details from the Application Access Details tab.
Step 4 - Upload Files to Cloudways via SFTP
Connect to your Cloudways server via SFTP using the credentials from Access Details. Navigate to the application’s public_html folder. Upload all the WordPress files from your local copy, replacing the clean install files. The upload will take time for large sites, a reliable connection and FileZilla’s transfer queue make this manageable.
Step 5 - Import the Database into Cloudways
In the Cloudways dashboard, go to Application > Application Settings > Access Details to find the database name, username, and password. Access phpMyAdmin via the Cloudways dashboard (under Application Management). Select the database, click Import, and upload the .sql file you exported in Step 1.
Step 6 - Update wp-config.php
Open wp-config.php on the Cloudways server via SFTP and confirm the database credentials (DB_NAME, DB_USER, DB_PASSWORD, DB_HOST) match the Cloudways database details. Cloudways typically pre-fills these when you create the application, but verify they are correct after uploading your files.
Step 7 - Update WordPress URLs in the Database
If the site URL is changing (different domain or moving from http to https), run a search-replace via WP-CLI or a plugin like Better Search Replace to update all instances of the old URL in the database. Using WP-CLI over SSH:
wp search-replace 'https://olddomain.com' 'https://newdomain.com' --all-tables --dry-runRun the dry-run version first to confirm the row count, then remove --dry-run to execute.
Free Managed Migration on Cloudways
Cloudways offers a free managed migration service. A Cloudways technician handles the full migration on your behalf, including file transfer, database import, and DNS guidance. This is available to new accounts during the trial period and to paid accounts on request through the support chat.
The managed migration is worth choosing when:
- Your site is large or complex and you want an expert to handle it
- You are not comfortable with SFTP or database tools
- The plugin has failed on a previous attempt and the issue is unclear
To request it, log in to Cloudways, open the support chat, and ask for a managed migration. Provide your current hosting details when asked. The team will coordinate a migration time and handle the move.
Post-Migration Checklist
After the migration completes and the site looks correct on the staging URL, work through this list before closing out:
- Update DNS: point your domain’s A record to the Cloudways server IP address (found under Server Management > Master Credentials). See our guide on changing your application domain on Cloudways for the full DNS steps.
- Provision a new SSL certificate: after DNS has propagated to the Cloudways server, go to Application Settings > SSL Certificate and install a free Let’s Encrypt certificate for the domain. Then enable HTTPS redirect on Cloudways so all visitors use the secure connection.
- Set up automatic backups: now that the site is live on Cloudways, enable scheduled server backups on Cloudways so future changes are protected.
- Clear all caches: purge Varnish from the Cloudways dashboard and clear any caching plugin cache after DNS has propagated.
- Check file permissions: if the migrated site shows a 403 Forbidden error or plugin updates fail immediately after migration, reset file and folder permissions on Cloudways to restore the correct defaults for your new application.
- Set up a 301 redirect on the old host: if the domain is staying the same, this step is not needed. If you are migrating to a new domain, add a 301 redirect from every page on the old domain to the corresponding new URL, then submit a change-of-address request in Google Search Console.
- Reactivate premium plugin licences: deactivate any domain-locked licences on the old host and reactivate them on the new Cloudways domain.
- Test email forms and third-party integrations: submit test form entries, check WooCommerce checkout, and verify any API integrations (payment gateways, CRMs, analytics) are still connected correctly.
Final Word: How to Migrate WordPress to Cloudways
For the full setup-through-DNS picture this howto sits inside, see our Cloudways setup and migration guide. For most sites, the Cloudways WordPress Migrator plugin is the fastest route, install it on the source site, paste in the Cloudways application credentials, and let it run. For large databases or hosts that restrict the plugin, the manual SFTP method gives you full control. Once the site is verified on the Cloudways staging URL, cut over DNS, provision SSL, enable the HTTPS redirect, and set up scheduled backups. If you prefer to hand the work to Cloudways staff, the free managed migration is available on request via the support chat at Cloudways. For migrating more than one site, multiple WordPress sites can run on the same Cloudways server, each as a separate application. If you need to access migrated files over SSH, you will first need to find your application’s folder name on Cloudways. After the migration completes, check the application logs on Cloudways to catch any PHP errors or plugin conflicts that surfaced during the site move. Cloudways supports AWS as one of its server provider options. For a closer look at what AWS infrastructure offers, see our Amazon Web Services review.